How does our universe work? Scientist Stephen Wolfram opens up his ongoing Wolfram Physics Project to a global effort. His team will livestream work in progress, post working materials, release software tools and hold educational programs.
Basil. Feta. Kalamata olives.
I assumed crossover cables were to go between A and B standards, but that doesn't look accurate. What are they for then?
Not dry. Came out juicy. That's a factor of final internal temperature, not cooking method.
Noviy God, as is tradition
YouTube Video
Click to view this content.
Happy new year
That's awesome. I want some goose jerky.
That's the downside. This time I had lots of time to let it rest, so I popped it in the oven at 550F right before serving for five minutes. Probably could have used a bit more time.
I don't make gravy anyway so it's no loss for me
The smoke is of course delicious, but the really important part is the final internal temperature of the meat. Doing the same cook in an oven would still come out great.
I target 145 F. There's a PDF document by the FDA that breaks down the time and temperature needed to kill the bad stuff. 165 is instant, but 145 at ten minutes is also safe.
This is spatchcocked. It cooks fairly evenly, but the breasts take the longest. Not a big deal since the dark meat tolerates higher temperatures better. I usually target 145 F internal temp. This one went over.
I've thought about putting together a video of my spatchcocking technique since I have it down to a few minutes. It's a combination of a few videos I've watched.
Essentially, starting at the back, cut around the rib cage, separate the thigh bones, then remove the entire rib cage from the breast plate by cutting through the cartilage.
Hard to tell because I didn't have a digital thermometer in the smoker for this cook, but somewhere around 275/315.
I rarely use water, only when I need to bring the temperature lower than I can get with the vents mostly closed. The evaporative cooling of the water keeps temperature down. I don't use it for humidity, that doesn't actually improve the meat. Final internal temp and cook time are the main factors there.
About 3 hours in the smoker. Turkey goes quick usually, and it comes out better at a higher smoker temperature.
Radar from MASH
Why can't they use the excess energy to make the train go again?
What is this used for?
Is there a bad taxidermy community?
They were asking for a ride. She speaks Ukrainian. I'm guessing she wasn't bothered by it.
I might have crossed my wires, it was probably just a forum post I misread. I happened to have new ceramic burrs so I went ahead and installed them.
I got closer to a perfect pull this morning after adjusting the right lever! Unfortunately I'm out of that coffee now so the process restarts with the next bag.
New ceramic burrs.
I typically use light roast beans, apparently ceramic is better there.
Went through the hyperalignment procedure and got close but not perfect. Had to move on and get it back together at some point.

Works the same, just inline. And this grinder has two
I have been dialing in espresso with a Vario grinder and wondering why I was getting such wildly inconsistent results. Turns out I mixed up the fine and coarse adjustment levers.
Facepalm
Me writing my resume in third person
Free solo*
But with a harness full of gear for extra weight reasons
And gloves because less grip == good?
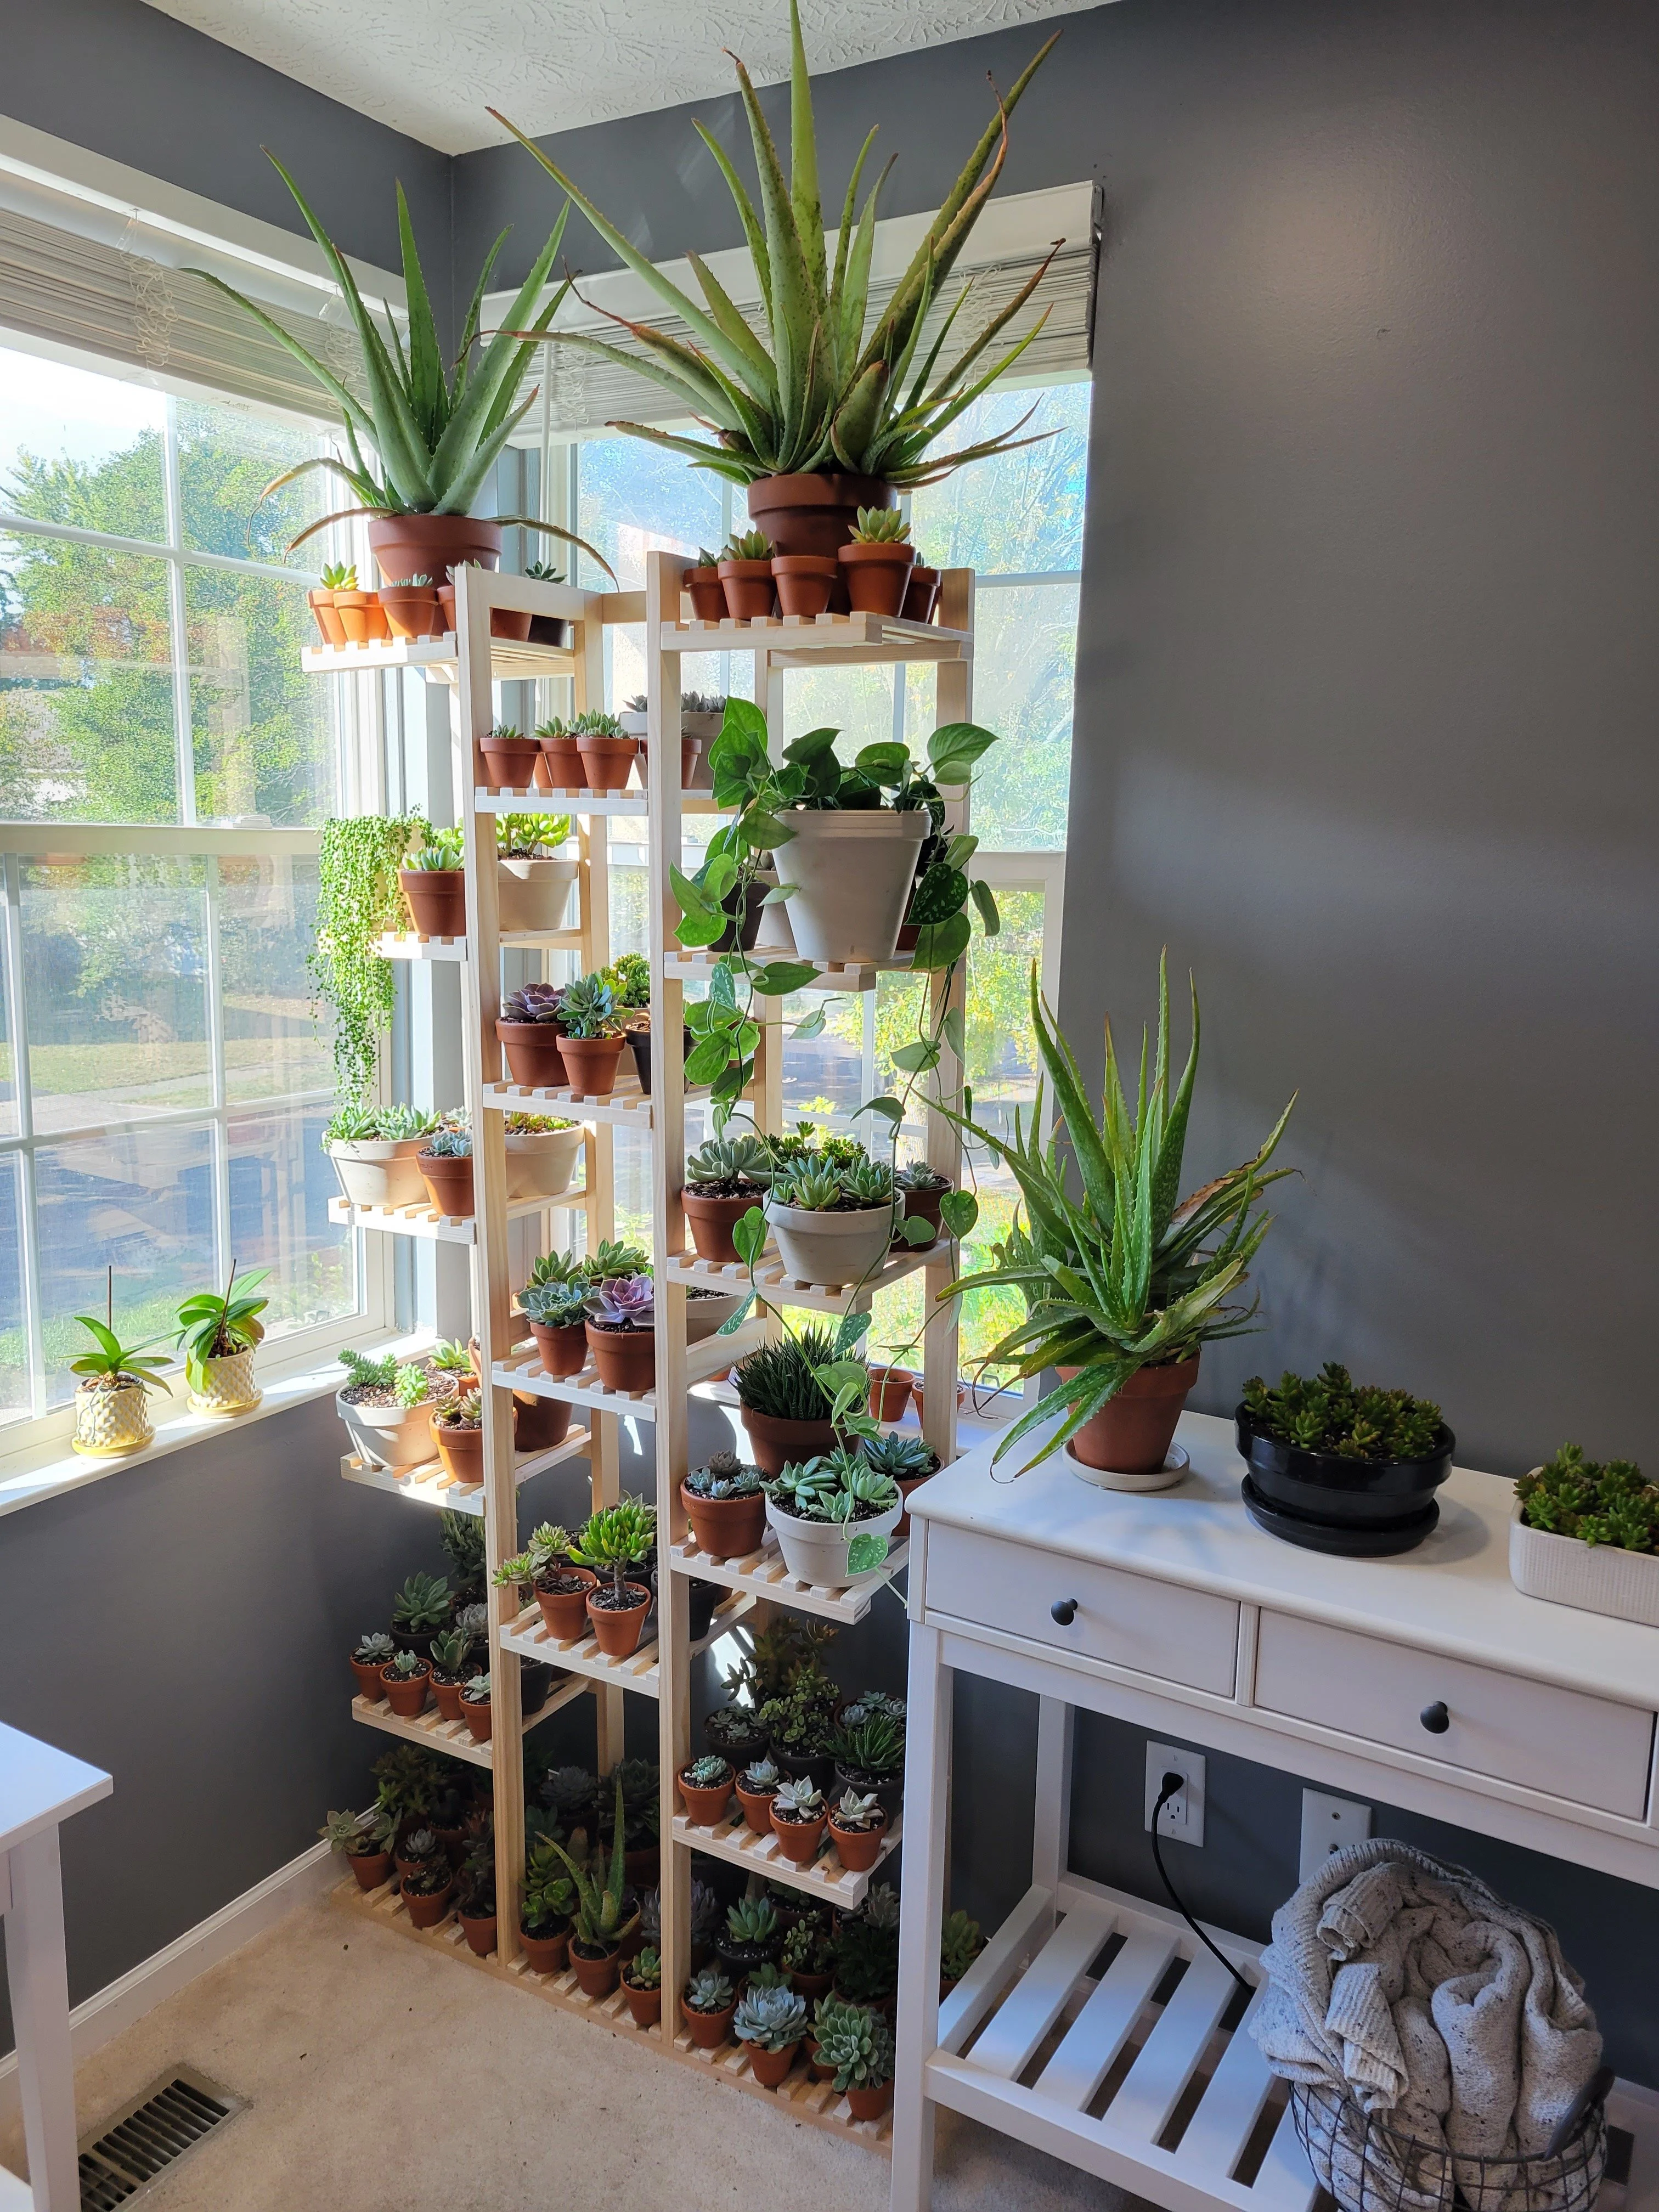
We water by soaking the plants in the tub, then letting them sit on towels before going back on the shelf. A bit tedious but only has to be done every 1-2 months.
Stephen Wolfram's Fundamental Theory of Physics is based on the idea that simple rules can cause complex patterns of our universe to emerge and elegantly explains relativity and quantum mechanics
Just learned about this. A long read, but really interesting.
Plant stand writeup and update: I added LED strips.
My wife wanted a plant stand because our succulents had gone wild. She showed me an Amazon item, and I thought, “$60? I can build that myself.” So I did. It only cost $100 and took an entire weekend.
Update to my previous post: https://lemmy.ca/post/7236274
I added flip down caster wheels to my table saw. Cheaper than a mobile base.
My table saw needs to be mobile so I can put it away against the wall when I’m not using it. The existing products are expensive or don’t fully swivel. I came up with a cheap and convenient solution using flip-down casters.
Pretty happy with how this turned out, even months later

Steklovata - Novi God (New Year)

YouTube Video
Click to view this content.
How I sealed my table saw for dust collection with a shop vac
To reduce dust in my garage, I sealed my table saw and attached a shop vac with a bucket cyclone. Sealing the saw redirects the shop vac’s limited airflow to where it’s needed most: the throat plate. This makes the shop vac a reasonable alternative to an expensive and bulky dust collector. In the pr...
Spent some time in Boulder CO for the first time and hopped on A Tall Cool One. Now that's the approach I'm looking for!


3D printed a featherboard


It's wild how similar woodworking and 3d printing are.
- Get a 3d printer
- Print things for the 3d printer
With woodworking
- Get a table saw
- Make things for the table saw
Now I can mix and match
Model: https://www.printables.com/model/205258-featherboard-with-replaceable-heads-m6
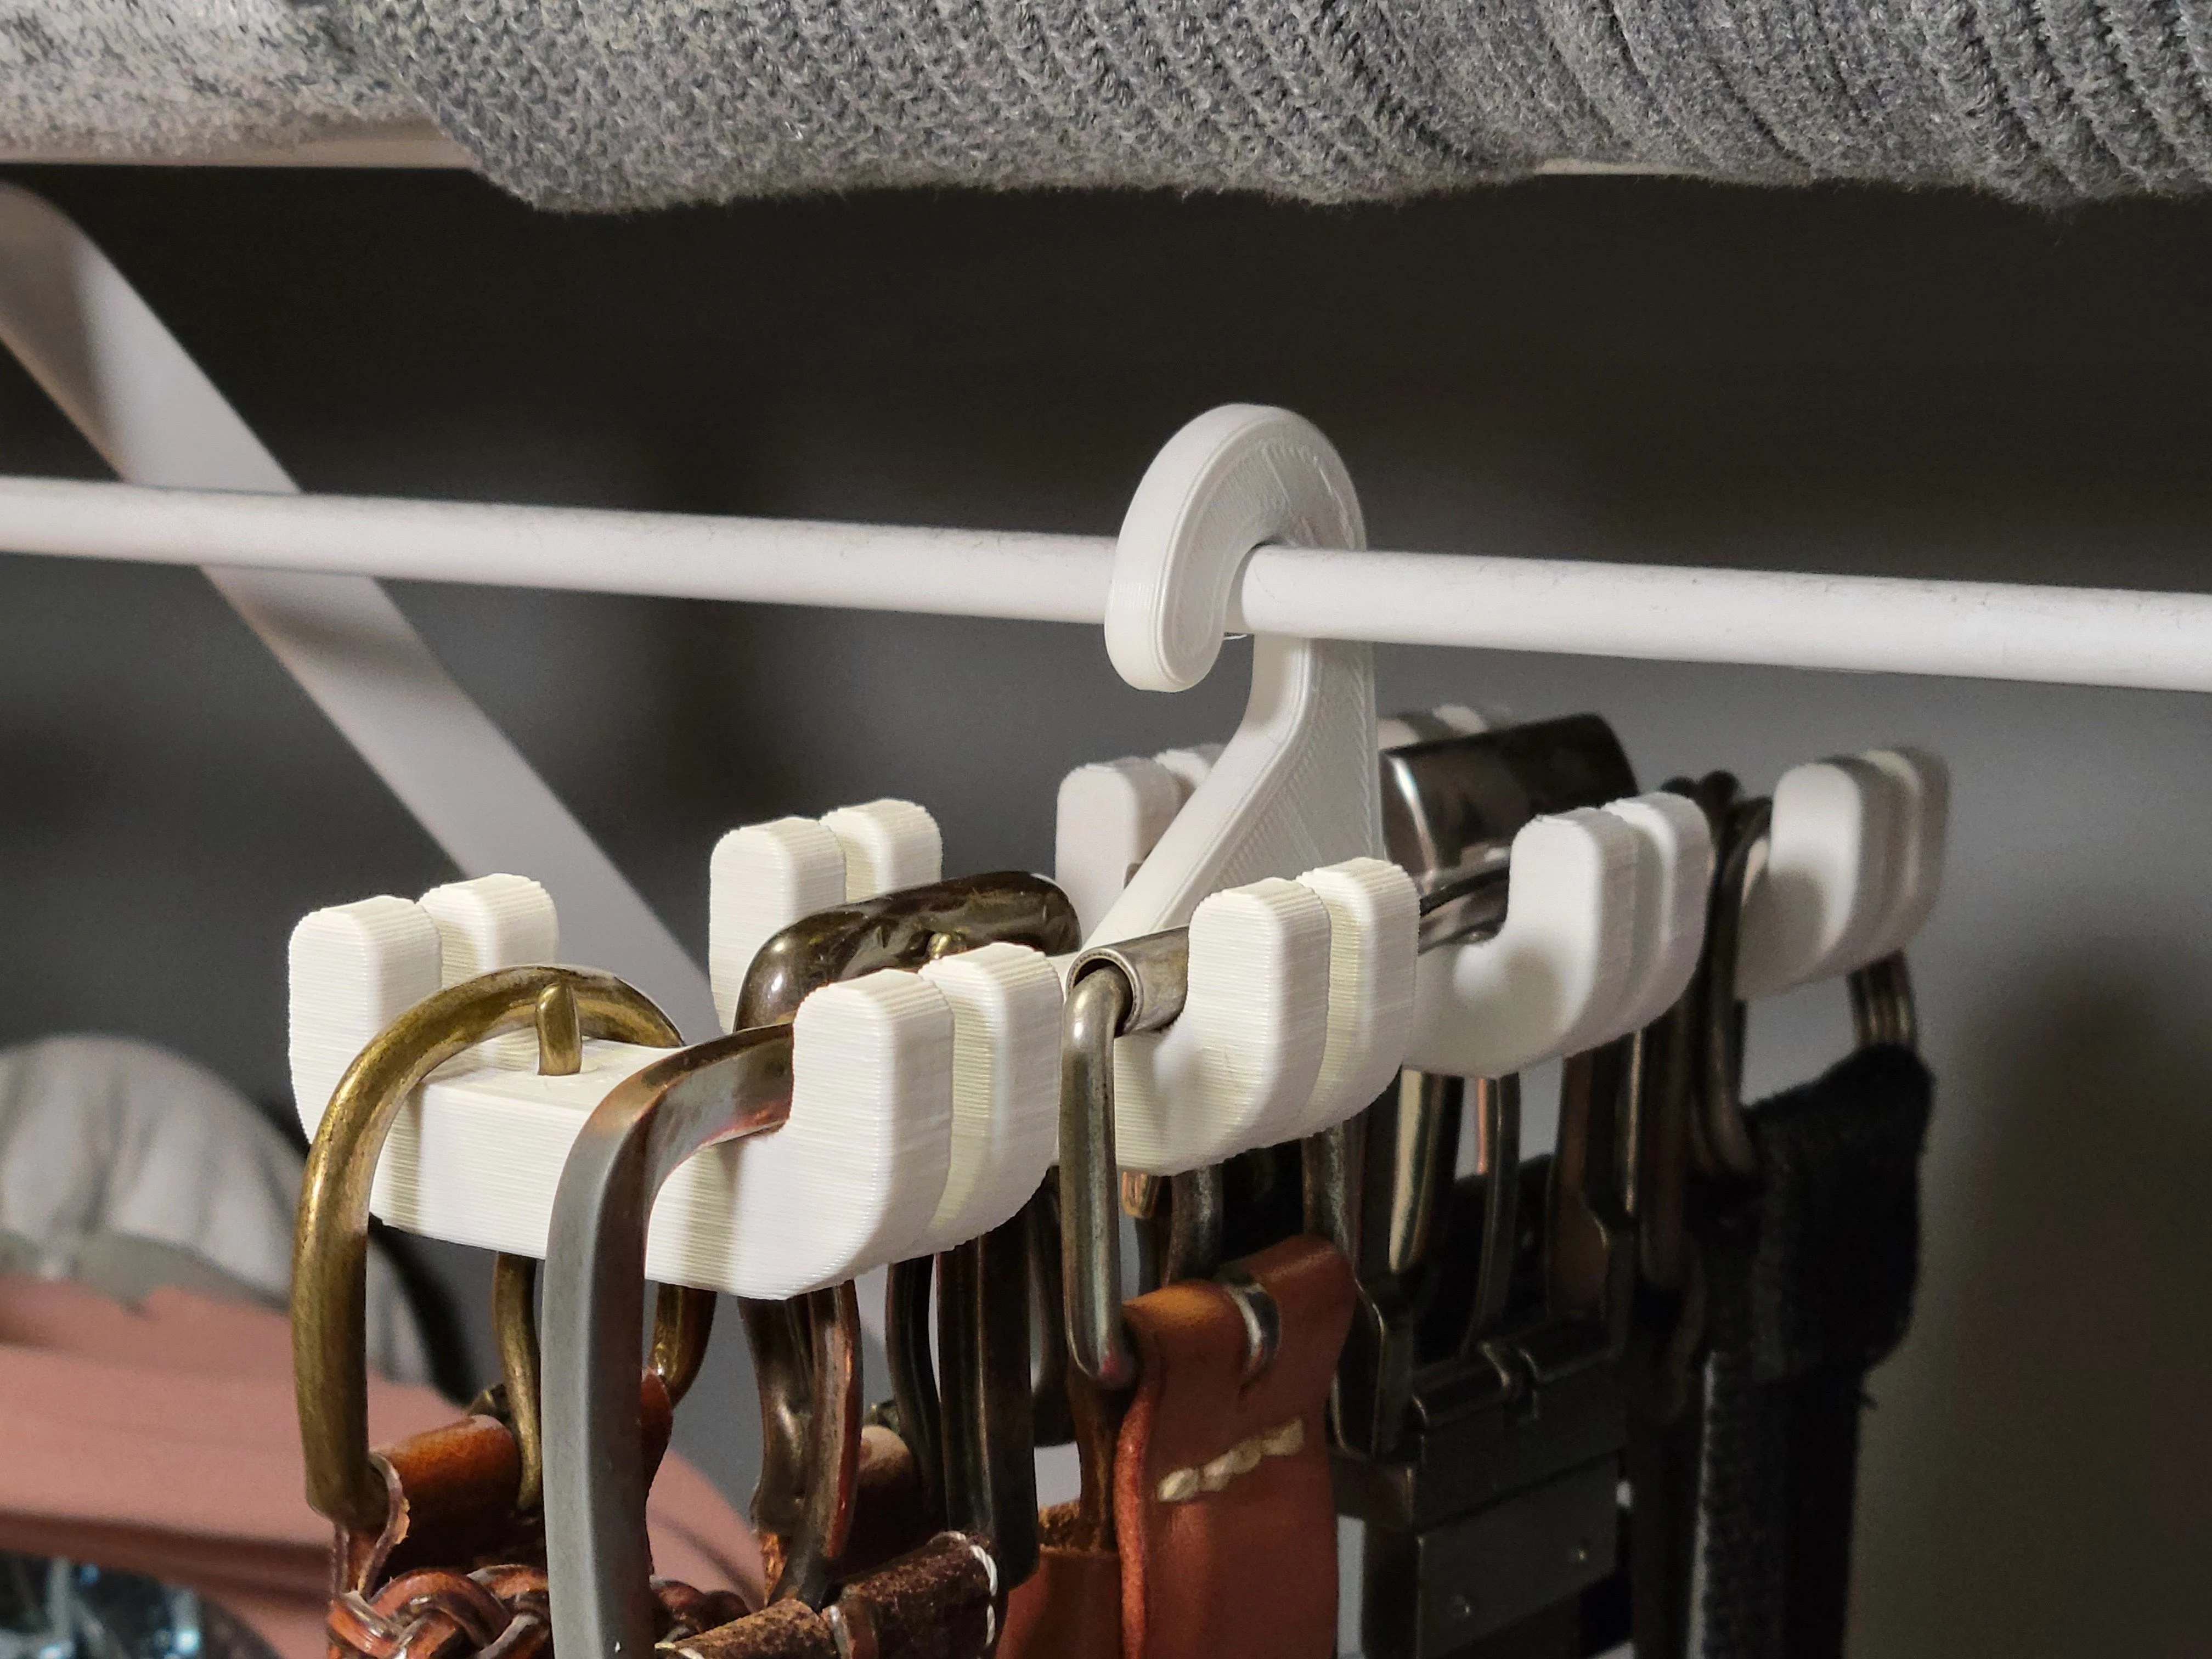
Belt organizer


Designed this storage solution for belts
https://www.printables.com/model/519768-belt-organizer-hanger-6-or-8-belts


Brackets to install garage lights


Had minimal clearance between these overhead shelves and the garage door, and the perfect light spacing was a few inches away from the cross bars. So I designed these snap fit brackets to offset the lights inline.
The lights make a huge difference, much more pleasant to work in the garage.
What I learned:
- there is some sag because the screws aren't at the top of the bracket. I would add a tab that protrudes on the side so I could add a screw higher.
- the screw face split on layer lines on a few of these. Still works but not perfect, so I would make the screw face thicker.


Also printed cable management clips

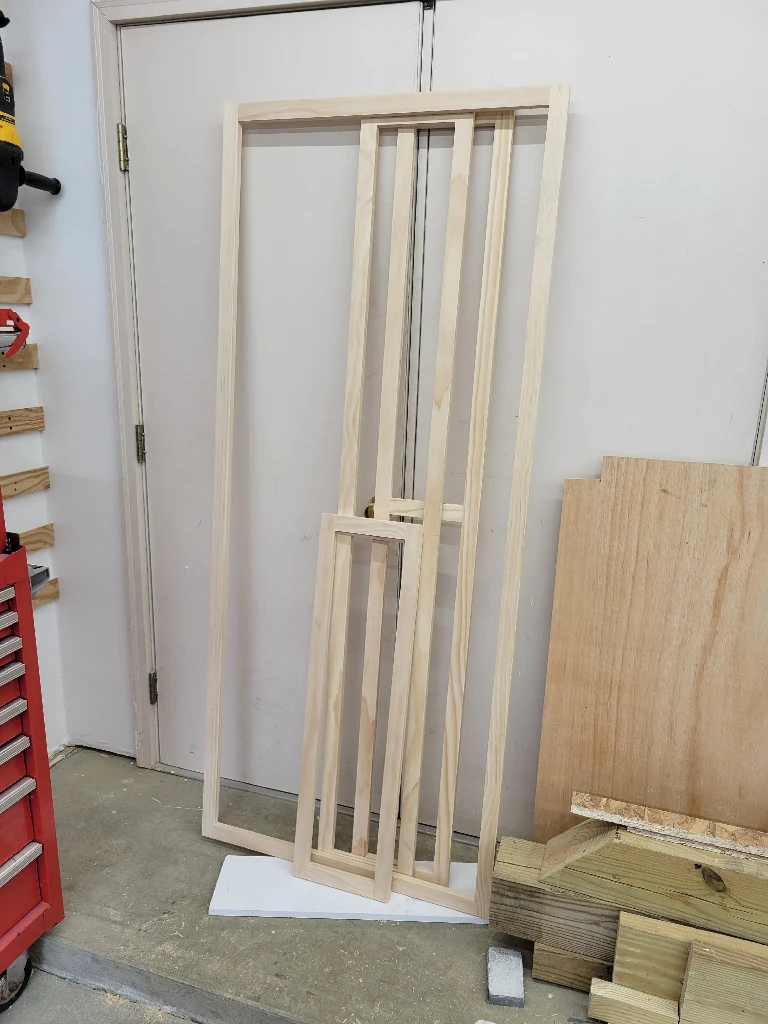
Wife wanted a plant shelf on Amazon for $60. I said, pshh, I can build that myself. So I did. It only cost $90 and took all weekend.


Made entirely from 1x2 pine. Ripped into thirds for the shelf slats. Pocket holes. Glue. Brads and glue for the shelf slats.


